Woodworking jointers are essential tools in any woodworker's shop. They are specifically designed to create a flat surface along the length of a board, which is crucial for achieving perfect edges. By removing imperfections, warp, or twist, jointers ensure that your wood pieces fit together seamlessly. Whether you're crafting fine furniture or simple wood projects, understanding the function and importance of a jointer can greatly enhance your woodworking skills.
The primary purpose of a jointer is to prepare wood for jointing, allowing you to create straight, flat edges for gluing and assembly. This is particularly important when working with hardwoods, which can be prone to warping. Jointers come in various sizes, but regardless of the model, they all share the same fundamental operation: a rotating cutter head that slices away material as the wood is passed over it. This action not only flattens the surface but also creates a smooth finish that minimizes the need for additional sanding.
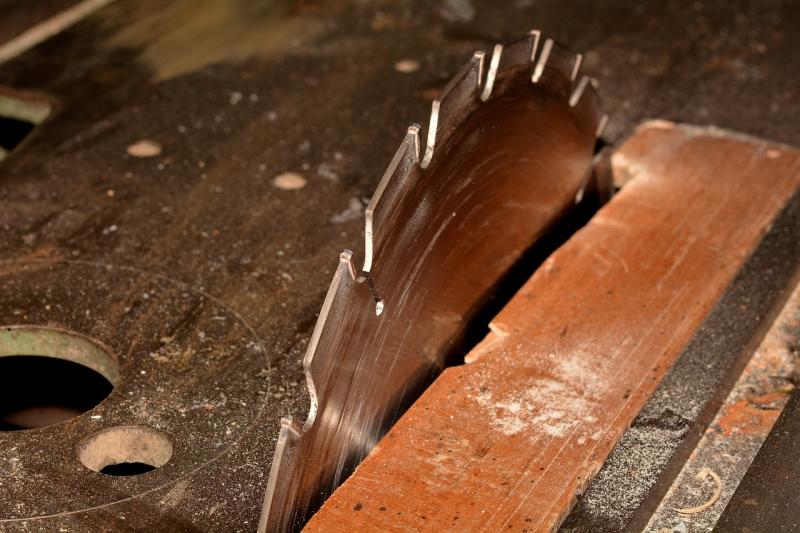
In addition to flattening boards, jointers play a critical role in edge jointing. When you want to join two pieces of wood to create a wider panel, it's vital that the edges are perfectly straight and flat. A jointer allows you to achieve this with precision, resulting in a strong bond when the pieces are glued together. The importance of achieving these perfect edges cannot be overstated, as they directly influence the final appearance and structural integrity of your woodworking project.
Ultimately, mastering the use of a jointer can elevate your woodworking game. By understanding how to operate this powerful tool, you can transform rough lumber into beautifully finished pieces with ease. Whether you're a beginner or an experienced woodworker, adding a jointer to your toolkit will help you produce stunning results that showcase your skills and craftsmanship.
Key Features to Look For
When it comes to woodworking jointers, there are several key features you should consider to ensure you get the best tool for your needs. First and foremost is the cutter head. A high-quality cutter head, particularly one with spiral or helical design, provides cleaner cuts and reduces tear-out on the edges of your wood. This feature is essential for achieving smooth, perfect edges that make all the difference in your woodworking projects.
Another important aspect to look for is the bed length of the jointer. A longer bed provides more support for your boards, allowing you to make jointing passes smoothly, especially with wider or longer workpieces. Generally, a bed length of at least 6 inches is recommended for smaller shops, while those with more space might opt for a 8- or 10-inch bed to handle larger projects with ease.
The power of the motor is also a vital consideration. A strong motor not only aids in cutting through denser hardwoods but also ensures that the jointer operates smoothly at varying feed rates. Choose a motor that delivers sufficient horsepower; typically, a 1.5 to 2-horsepower motor will suffice for most hobbyists and professionals alike.
Additionally, ease of adjustment is a feature that can significantly enhance your woodworking experience. Look for jointers that offer simple and precise adjustments for both the tables and the blades. A quick-release mechanism can make setting up the machine much faster and lets you spend more time on your projects instead of fiddling with the tool.
Step-by-Step Setup Guide
Setting up your woodworking jointer might seem daunting at first, but with a little patience and attention to detail, you’ll have it ready to help you achieve those perfect edges in no time. Start by placing your jointer on a sturdy, level workbench. This provides a stable foundation and helps prevent any vibrations that could affect your cuts. After securing the jointer, ensure it is plugged into a suitable power source, following all safety precautions outlined in your manufacturer’s instruction manual.
The next step is adjusting the infeed and outfeed tables. Begin by checking that the tables are parallel to each other. Use a straightedge to ensure they are level. If you find discrepancies, adjust the height of either table accordingly. A well-aligned jointer will allow for smoother cuts and reduce the chances of snipe, which is the unwanted taper that can occur at the ends of your boards.
Once your tables are aligned, it’s time to sharpen the blades. Dull blades can lead to tear-out and uneven edges. Most jointers come with a blade adjustment mechanism that allows you to set the blade height precisely. Follow the manufacturer's instructions for blade installation and ensure they protrude slightly above the table for an effective cut. After installing, make sure to check the blade alignment again, as this can shift during installation.
Finally, test your jointer with a scrap piece of wood. This will help you dial in the settings and provide a practical understanding of how your jointer performs. Pay attention to the surface finish of the test cut; it should be smooth and free of imperfections. If you notice any issues, take the time to recalibrate your settings before moving on to your project. With these steps, you're well on your way to mastering woodworking jointers and achieving perfect edges!
Tips for Achieving Perfect Edges
Achieving perfect edges when using a jointer is essential for ensuring your woodworking projects have a professional finish. Here are some tips to help you master this skill effectively. First, always start with a well-prepared machine. Make sure your jointer blades are sharp and properly aligned. Dull blades can cause tear-out, leading to rough edges. Regular maintenance checks will keep your jointer in top shape, allowing for cleaner cuts.
Next, take the time to properly set your material against the jointer's fence. The fence should be square to the table to ensure that your workpiece is evenly planed. A simple way to check this is by using a combination square. If the fence is out of alignment, adjust it until it is perfectly perpendicular. This small step can make a significant difference in the quality of your edges.
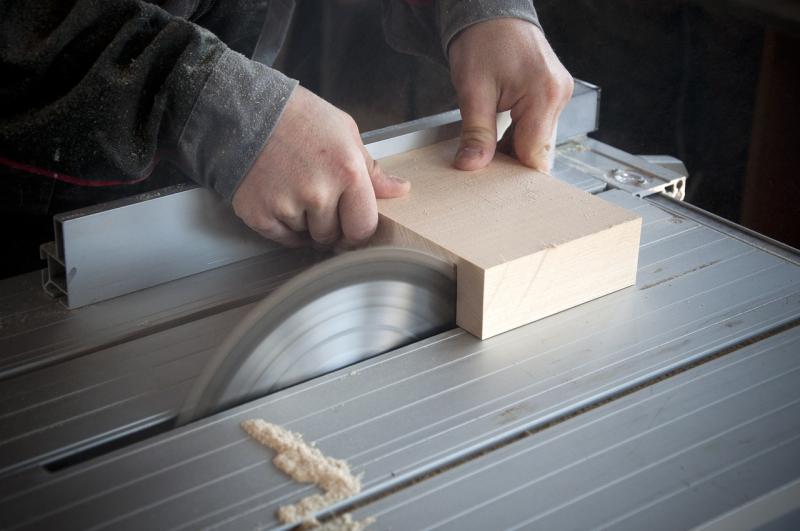
When feeding your workpiece into the jointer, apply consistent pressure and ensure that the entire length of the board is in contact with the table. Start with light passes, gradually lowering the cutting depth as you gain confidence with the tool. Remember, a gentle touch can help you achieve a smoother finish, while rushing can lead to uneven edges.
Lastly, keep an eye on the grain direction of your wood. Always feed the board in the direction of the grain to minimize chipping and achieve cleaner edges. Sometimes it helps to run your hand along the grain to feel which way it flows before you start. By being mindful of these tips, you'll soon be on your way to achieving perfect edges with your jointer.